🧱 How to Install a Paver Patio or Walkway — Step-by-Step Guide
Thinking about transforming your outdoor space with a stunning paver patio or walkway?
Here’s a professional guide based on industry-standard installation practices — perfect for homeowners or aspiring landscapers.
🗺️ 1. Planning and Layout
Before you start digging, it’s crucial to assess your site thoroughly. Check for underground utilities by contacting your local utility locator. Analyze the natural drainage patterns—water should flow away from your home, not toward it. Examine existing vegetation and decide if anything needs to be removed. If required, secure the necessary permits according to local building codes.
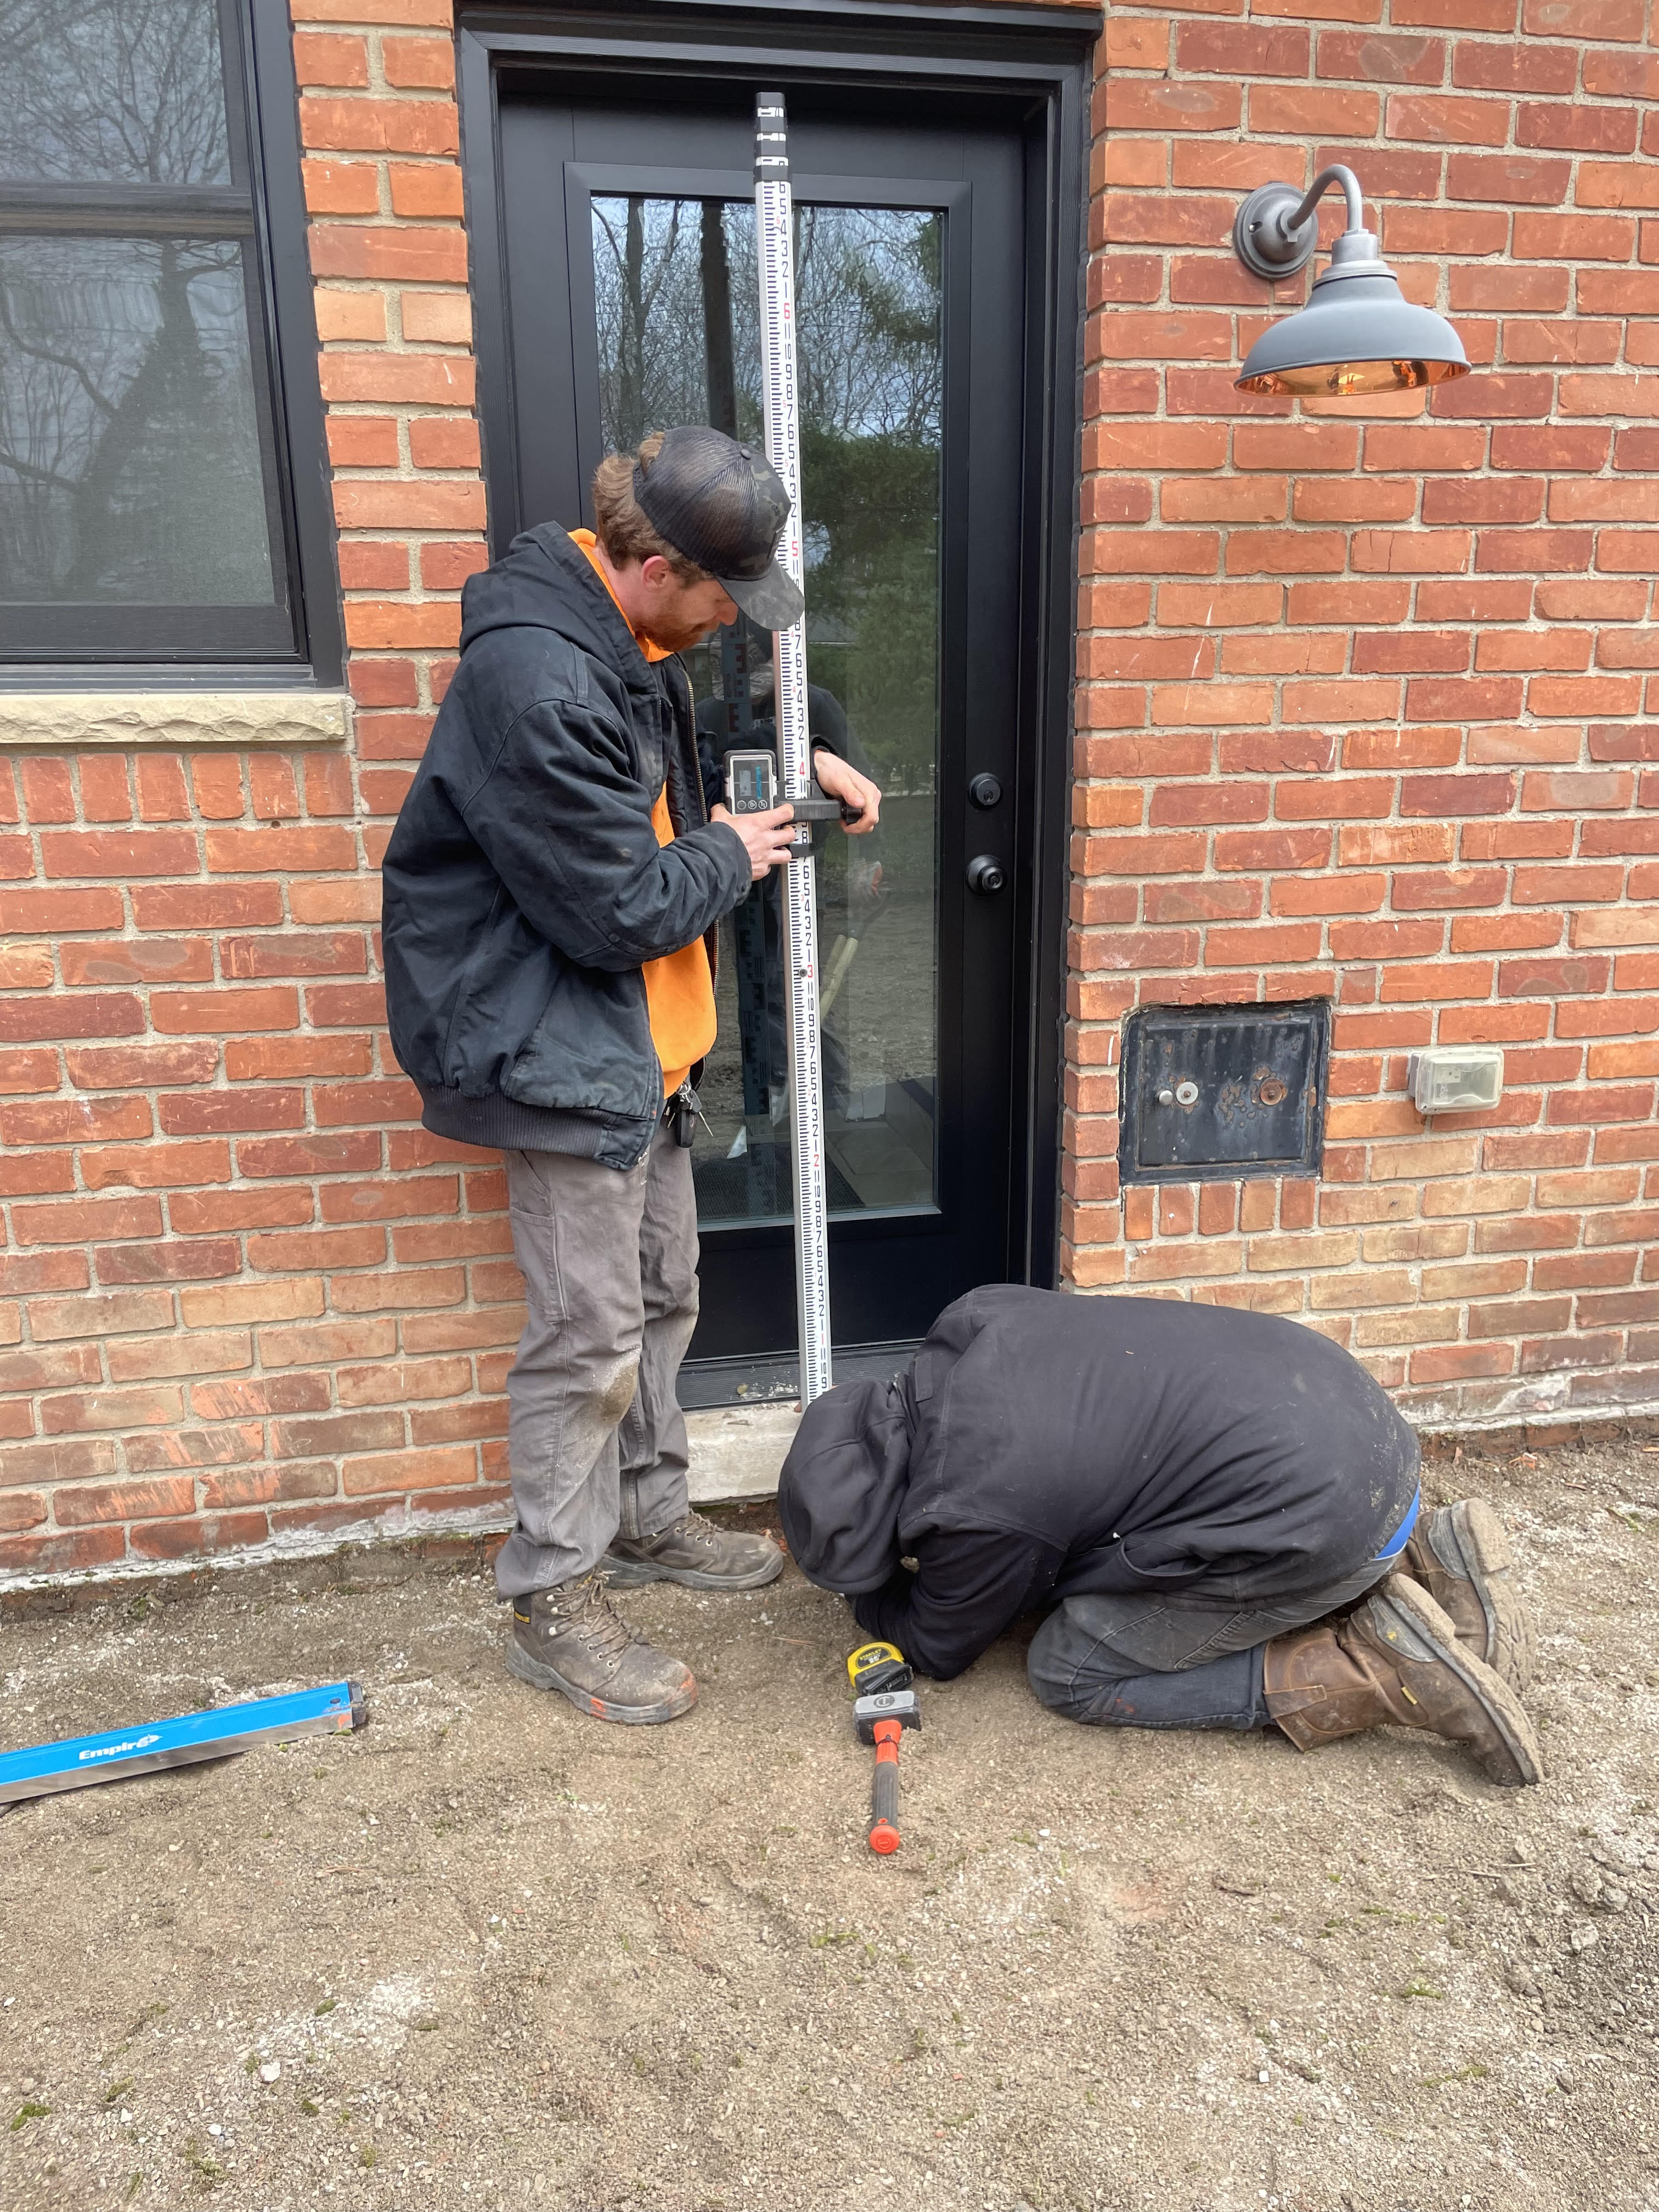
With a clear plan in mind, outline the perimeter of your future patio or walkway using marking paint, stakes, and string. Always include an additional 8-12 inches around the border to allow for proper edge support later. Mark key points based on your blueprint, especially if you're incorporating curves or unique shapes. Confirm slope needs and set up grade stakes for reference.
Grade stakes help establish your final elevation and ensure your patio has the proper slope—typically 1/8 inch per foot away from structures. Use radius stakes in curved areas to maintain a consistent shape. Place stakes every 8 feet along straight lines to help you control depth and slope throughout the project.
📸 Example of Marking & Staking:

🛠️ 2. Excavation
Proper excavation ensures your patio won’t settle or shift. Calculate your depth by adding:
This totals 9-10 inches below your finished grade. Remove all black dirt, sod, and organic material to prevent future settling.
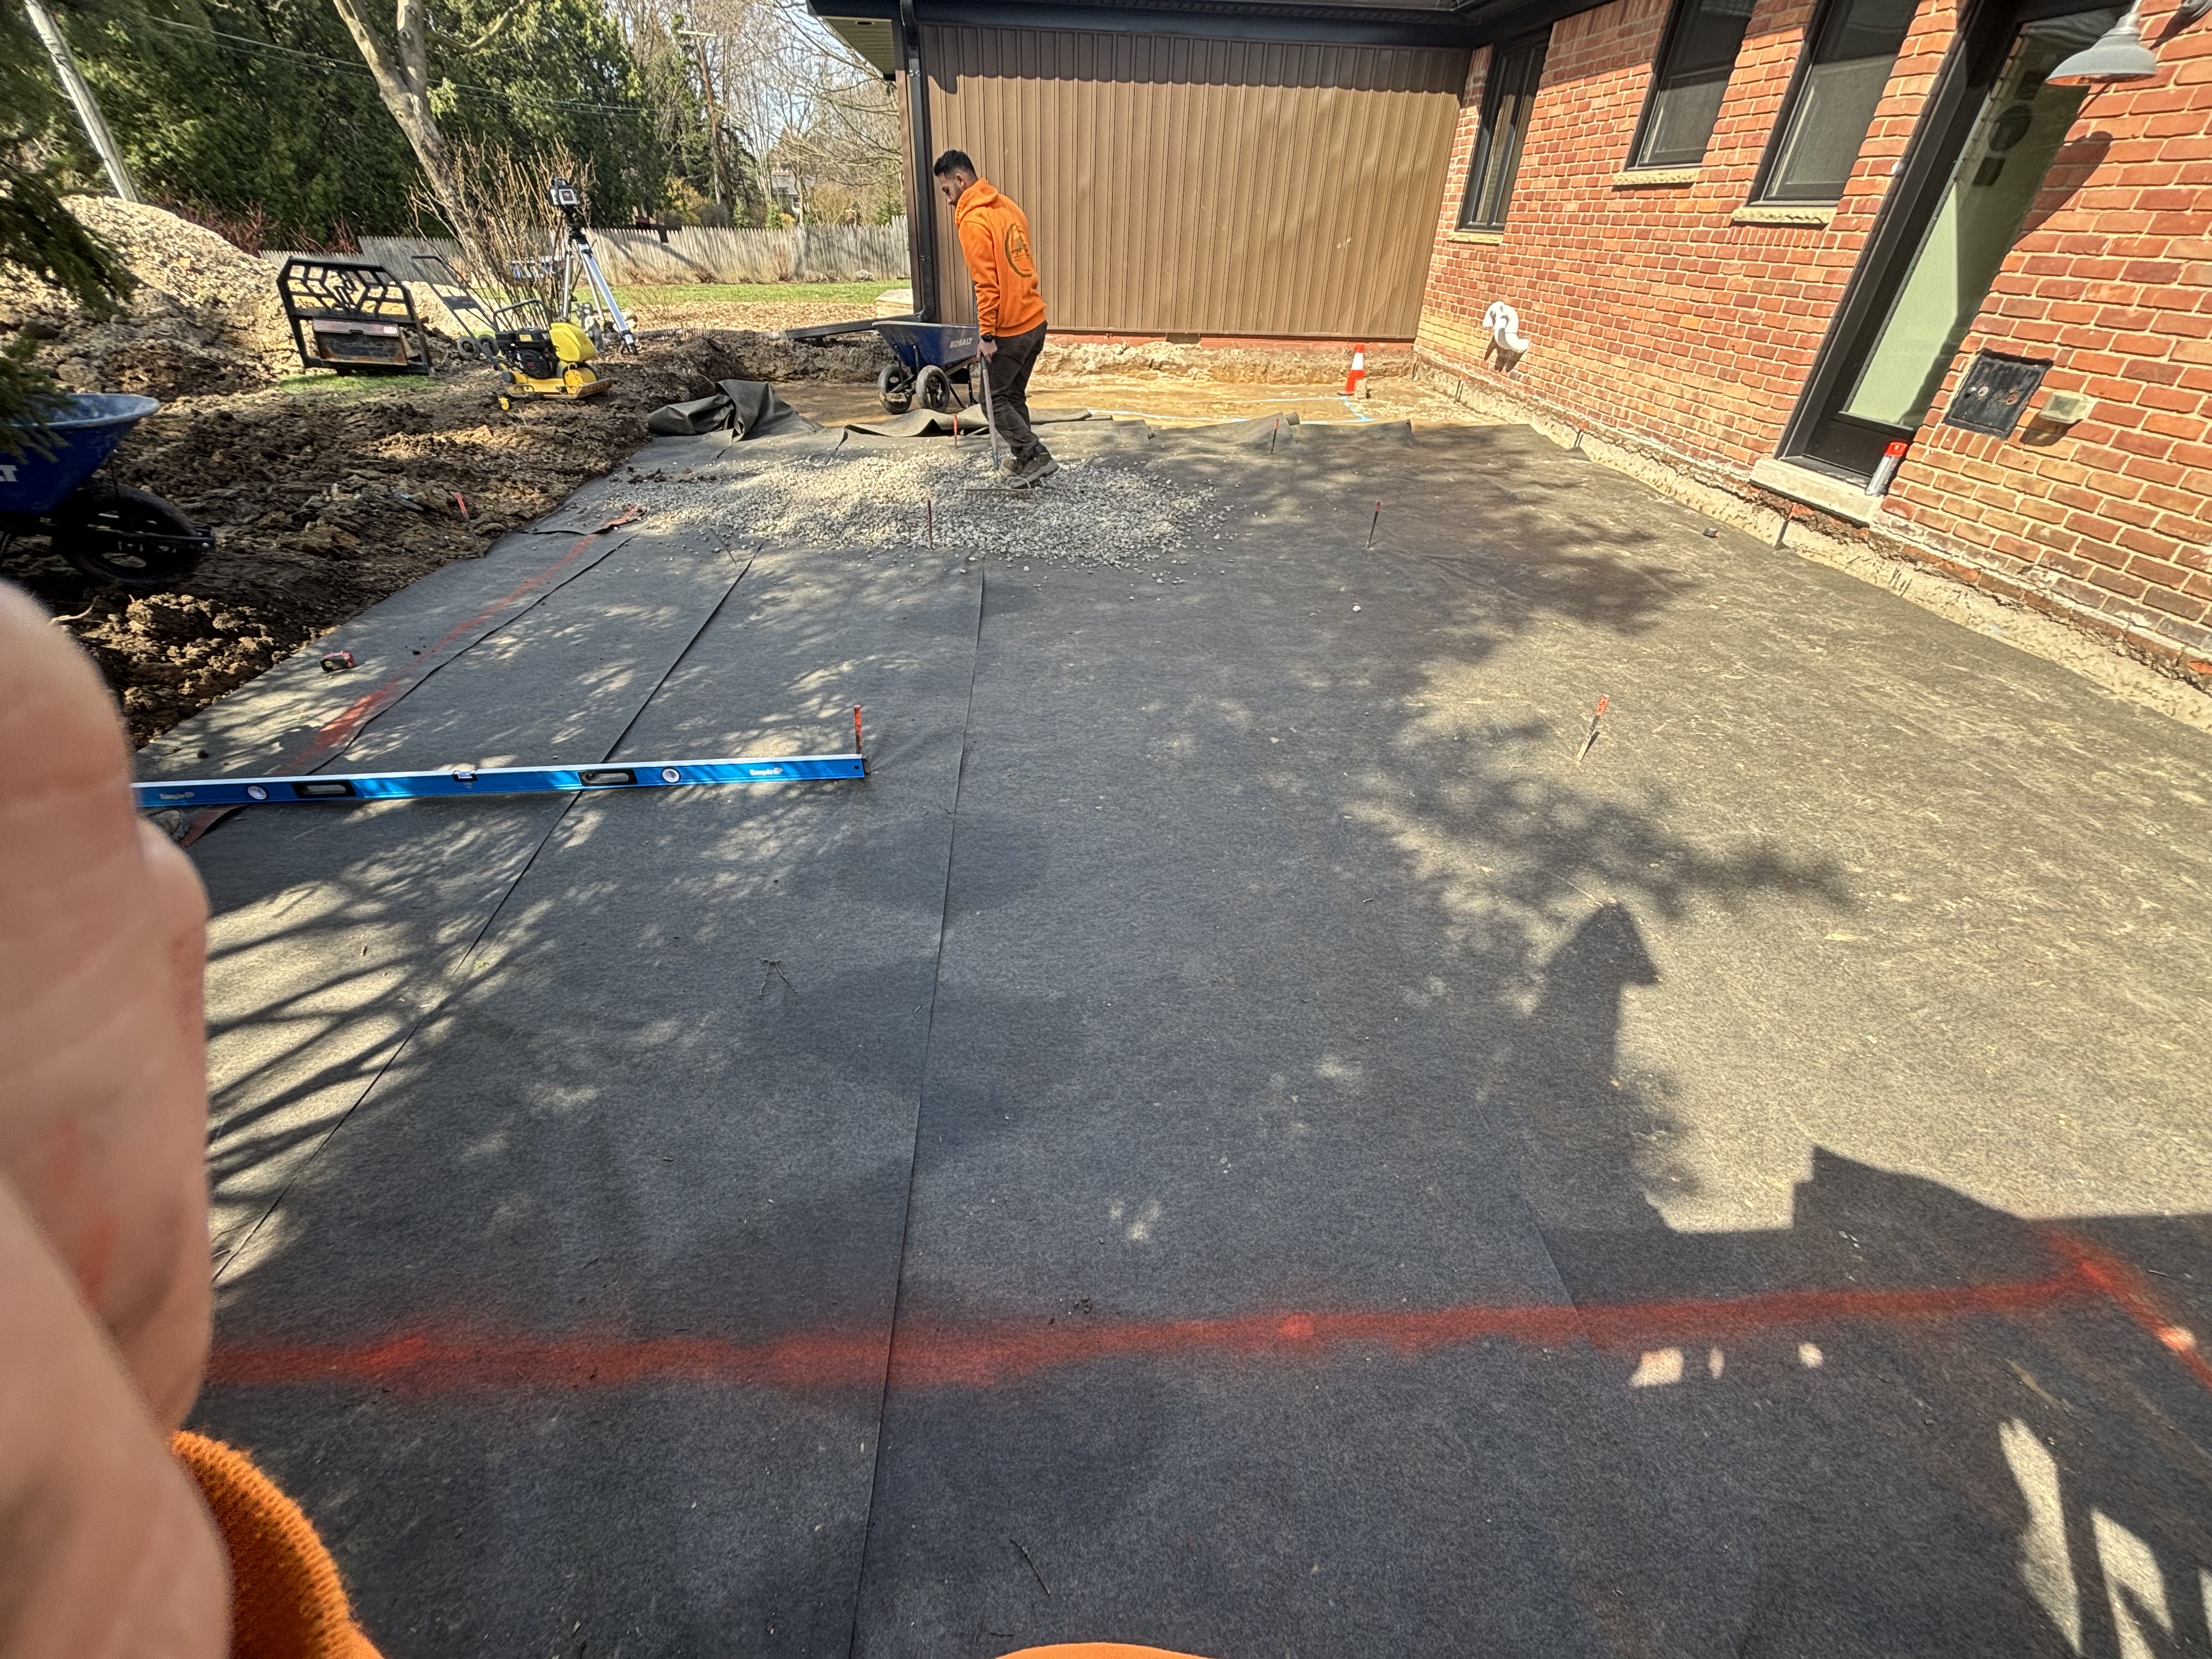
Begin by removing grass, roots, and debris. Ensure your subgrade is level, free of soft spots, and compacted with a plate compactor. For clay soils, install a geotextile fabric barrier to prevent your base from mixing with the subgrade. Once your excavation is complete, re-mark your design on the ground to double-check dimensions.
📸 Example of Excavation with Fabric:

🚜 3. Base Preparation
Your base layer provides structural integrity. Use ¾-inch angular crushed stone for the best drainage and compaction. Install the base in 2-inch lifts, thoroughly compacting each layer with a plate compactor. Rake the stone level before compacting for better consistency.
Make multiple passes with your compactor in a mowing pattern. You’ll know your base is well-compacted when the compactor begins to bounce slightly on the surface.
After your base is in place, run a string line across your grade stakes. The top of your base should sit exactly 3 inches below the string line, giving you room for the bedding layer and pavers.
📸 Example of Base Installation:
📸 Example of Compacted Base:
🪵 4. Bedding Layer
Instead of traditional sand, use 3/8-inch chip-stone for your bedding layer. It locks into place better and resists washout.
Set your screed pipes and hammer them lightly into place with a rubber mallet. The top of the pipes should be 2 inches below your grade stake line. Spread chip-stone over the pipes before screeding to prevent movement.
Screed by pulling material toward you, ensuring there are no gaps beneath the screed board. Remember, never walk on the screeded surface.
Once screeded, remove the pipes and fill any voids with chip-stone using a trowel. The bedding layer must be done the same day you lay your pavers to avoid contamination or shifting.
📸 Screeding Example:

Begin by laying your border pavers first, setting a strong foundation for the rest of your pattern. Always start at a fixed edge like a house or patio step. Lay in a stair-step pattern, especially with rectangular pavers, to avoid pushing your layout out of square.
To maintain consistent color, pull pavers from multiple pallets as you work. This mixes color batches and prevents noticeable variations in your finished patio.
📸 Laying Pavers Example:
Once your pavers are in place, install edge restraints to keep them locked in.
Allow the concrete to cure before moving on.
📸 Edge Restraint Install Example:
📸Paver Diagram Example:

Once the edge restraint is dry, sweep polymeric sand into the joints at a 45-degree angle. Work methodically to ensure joints are completely filled. Blow off excess sand before compacting.
Use a plate compactor with a paver pad to make 1-2 passes over the patio in a mowing pattern. After compacting, sweep more sand into the joints if needed, leaving about ⅛ inch from the top of the paver.
Activate the polymeric sand by watering in three light cycles:
Light mist, let dry
Slightly heavier mist, let dry
Final heavier spray
Check by inserting a thin tool into the joint — if the sand holds firm, you're done. Key note: Always double-check the manufacturer’s installation guidelines for their polymeric sand, as each brand may have specific instructions and requirements.
📸 Polysand Install Example:
Installing a paver patio or walkway is a rewarding project when done correctly. By following these detailed steps — from proper excavation to precise joint sand activation — you’ll create a durable and beautiful outdoor space built to last for years.
If you want professional results without the hassle, contact C2B Outdoor Services for expert installation and design services in your area.
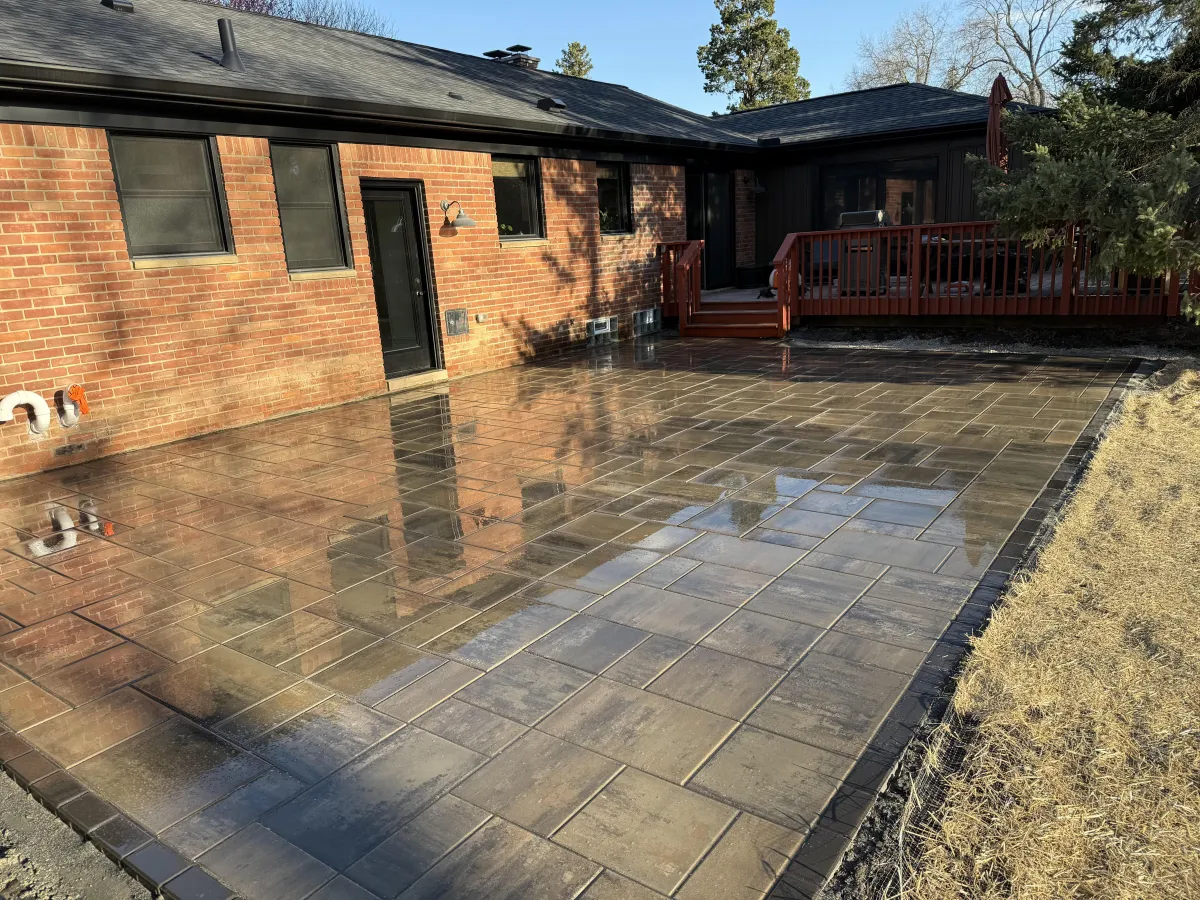
📸Final Results:


